 Emergency Dispatch
SAFE, FAST & RELIABLE LOGISTICS PROVIDER
Our work process
Make 4 Simple Steps
Needs Assessment
Free logistics audit and route optimization analysis.
Custom Plan
Tailored logistics solution for your business needs.
Execution
Always available - 24/7 support.
Delivery
On-time delivery with proof of receipt.
Ready to experience precision logistics?
Get Free Consultation →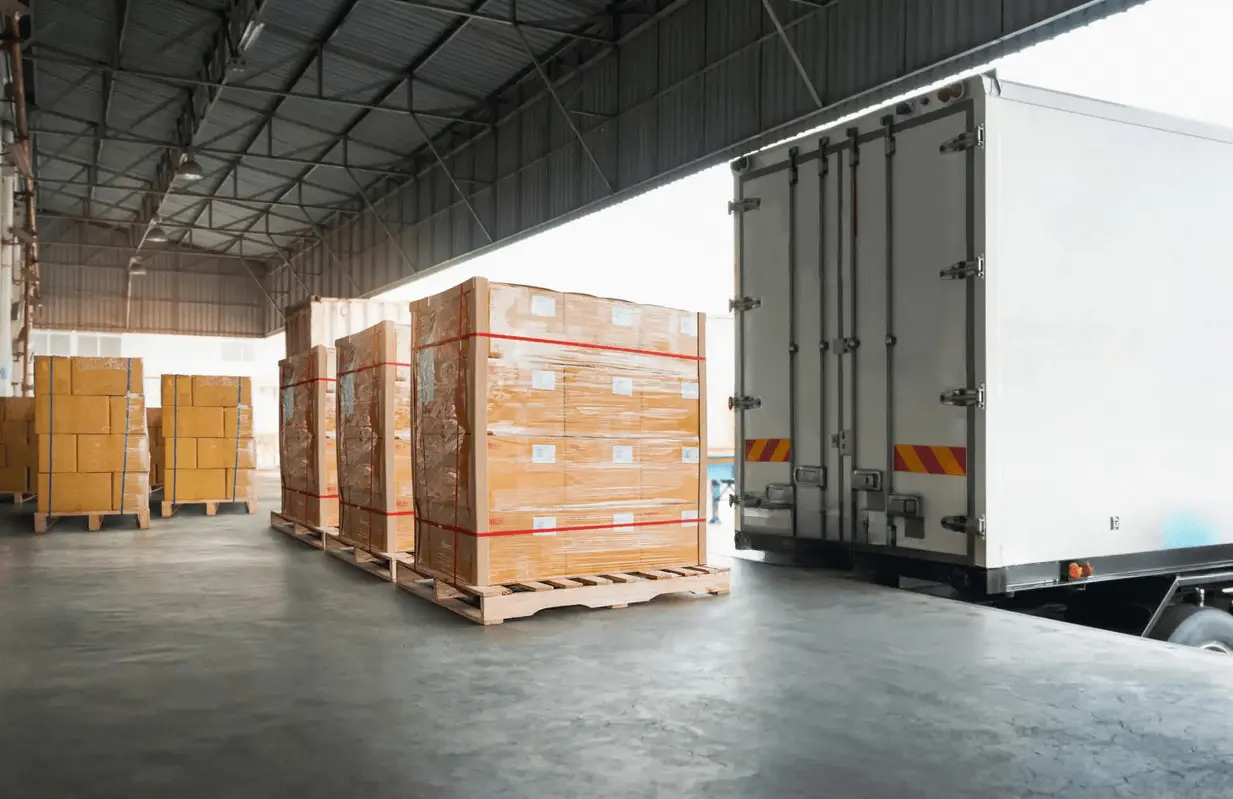
Get To Know Us
High Level Of Service
On Time & Damage Free
At SH Logistics, safety is our top priority. As a family-driven company, we combine reliable service with modern solutions to deliver with care.
Our Commitment
"We maintain the highest ethical standards while delivering measurable value to our customers."
CEO & Founder
Our Services
Comprehensive Logistics Services
End-to-end solutions for your supply chain needs

Dry Van Transportation
Flexible and secure dry van freight solutions
- Nationwide coverage
- Safe and reliable delivery
- Full and partial loads
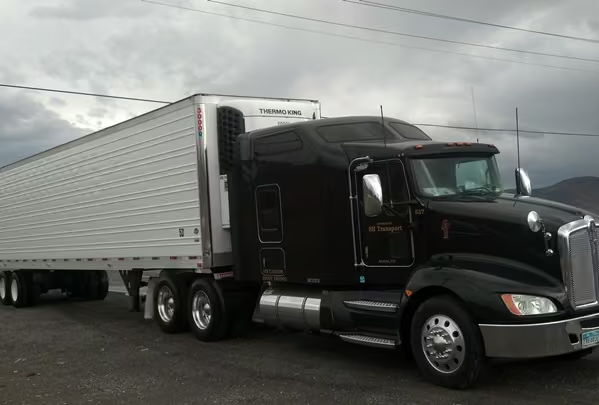
Refrigerated Transportation
Temperature-controlled for sensitive cargo
- Advanced temperature monitoring
- 24/7 shipment tracking
- Specialized reefer trailers
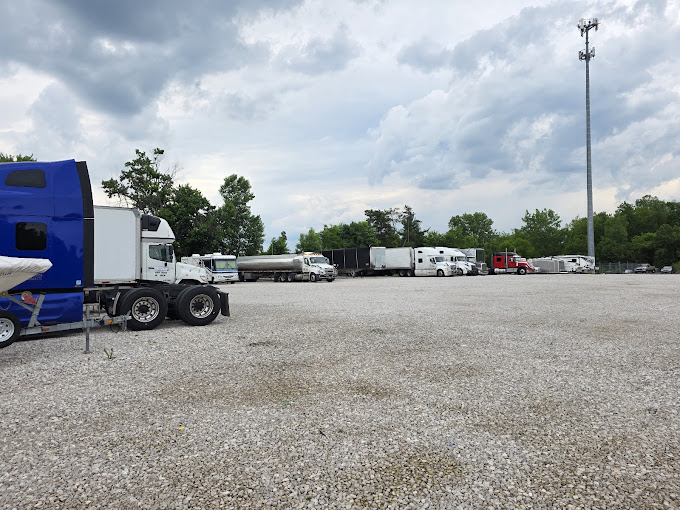
Parking Solutions
Secure vehicle storage solutions
- 24/7 monitored facilities
- Flexible leasing options
- Strategic locations nationwide
Need your truck fixed or parts serviced?
Truck repair, truck wash & trailer washout - Medina, OH
Throughout the years we keep
growing

Deliveries
0+

States Covered
0/48

Companies Helped
0+
Why Choose Us
Scalable. Controlled. Reliable. Customer-Focused.
We provide smart, agile logistics solutions designed for growth. Focused on safe, reliable freight service and long-term customer partnerships.
Scalability
Quickly scale resources through partner networks to handle seasonal peaks or one-off surges without sacrificing service.
Flexible capacity models and vetted partner carriers
Visibility & Control
GPS tracking and proactive alerts keep you informed at every step - dashboards and APIs for operational control.
Live location and ETAs
Reliability
We combine experienced drivers, maintained equipment and focused dispatch to deliver consistent service and minimize exceptions.
Emphasis on compliance, safety and preventive maintenance
People First
Our team, drivers, mechanics and operations staff, are central to delivering safe, on-time service and strong customer relationships.
24/7 support and a focus on long-term partnerships
Work with a partner who values safety
We prioritize compliance, preventive maintenance and trained personnel to keep freight moving safely.
Our Customer Feedbacks
Trusted From Over 1,500 Clients
Sarah Johnson
Global Trade Inc.
"Their temperature-controlled logistics saved our shipments during a heatwave. Real-time tracking gave us peace of mind we never had with previous providers."
Latest Updates
Industry Insights
Stay informed with our expert analysis on transportation logistics and fleet management.
View All Articles24/7 Support